Home
Copyright
My Cross Stitching Blog
My Etsy Shop
Christmas cross stitch finishing ideas
1 comment
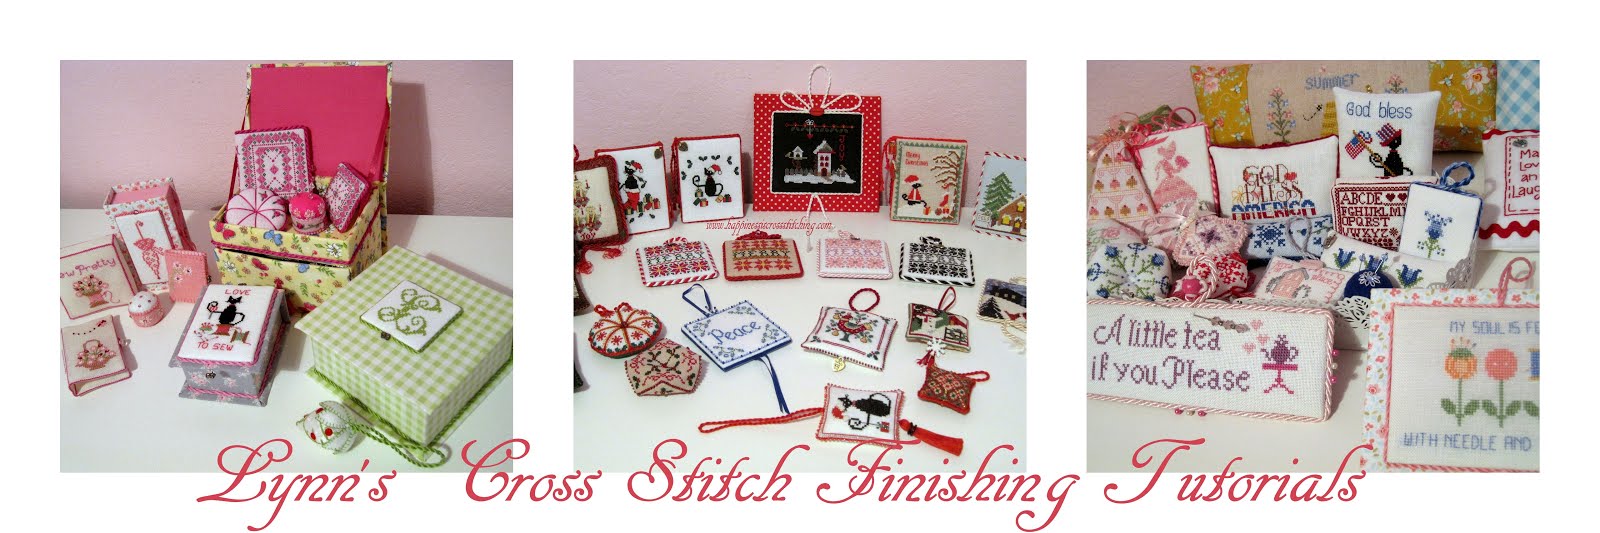
Time for some cross stitch finishing ideas starting with some Christmas ornaments and a reminder to where you can locate the free cross stitch patterns.
Click here to see post and more photos >>
Older Posts
Subscribe to:
Posts (Atom)
Click image to see my cross stitching blog
Popular Posts
Biscornu finishing instructions
How to make this biscornu. You will need:
How to make my little love heart pillow.
How to make the little love heart shaped pillow Would you like to know how to make this pretty heart shaped pillow? If so you ...
Christmas cross stitch finishing ideas
Time for some cross stitch finishing ideas starting with some Christmas ornaments and a reminder to where you can locate the free cross s...
Halloween cross stitched scissor fob tutorial
Hi everyone, I know it's been a while, but at least I have a nice cross stitched scissor fob tutorial for you! In this tutorial I show...
Instructions for little oblong pillow in pink and blue
Instructions for little oblong pillow This set is designed by me, it is for personal use only, please respect my copyright - do not re...
Mattress pincushion finishing tutorial
Hi everyone, I thought it was about time I showed you another tutorial, this one is for a mattress pincushion.
Stitching 2 over 2 threads on cross stitch fabric.
Two over two stitching on linen. Photos below
How to make a pretty little bow.
Edited to add this photo Hi everyone, Happy New Year to you! Quite a few people have asked how I make these pretty little bows th...
Cross stitch necklace tutorial
I have had a few requests asking for a tutorial to show how I make these cross stitch necklaces, so here we are!
Christmas Mini Black Cat cross stitched pillow finishing tutorial
Mini Black Cat cross stitched pillow finishing tutorial
Blogger Template Created by
pipdig